Monday, December 30, 2013

More gelatin prints

I worked on more prints today. It flowed a little faster, now that I got the basic process down. I still had several happy surprises.  These first two I used the elephant stencil I made. the one on the left is the ghost print which I like a lot. The one on the right was pulled first and is much more graphic.


This set of bird prints was done together. On both of them I did a second print of the bird over the first one (which came out white) because I thought the big empty white space left by the bird stencil was too stark.


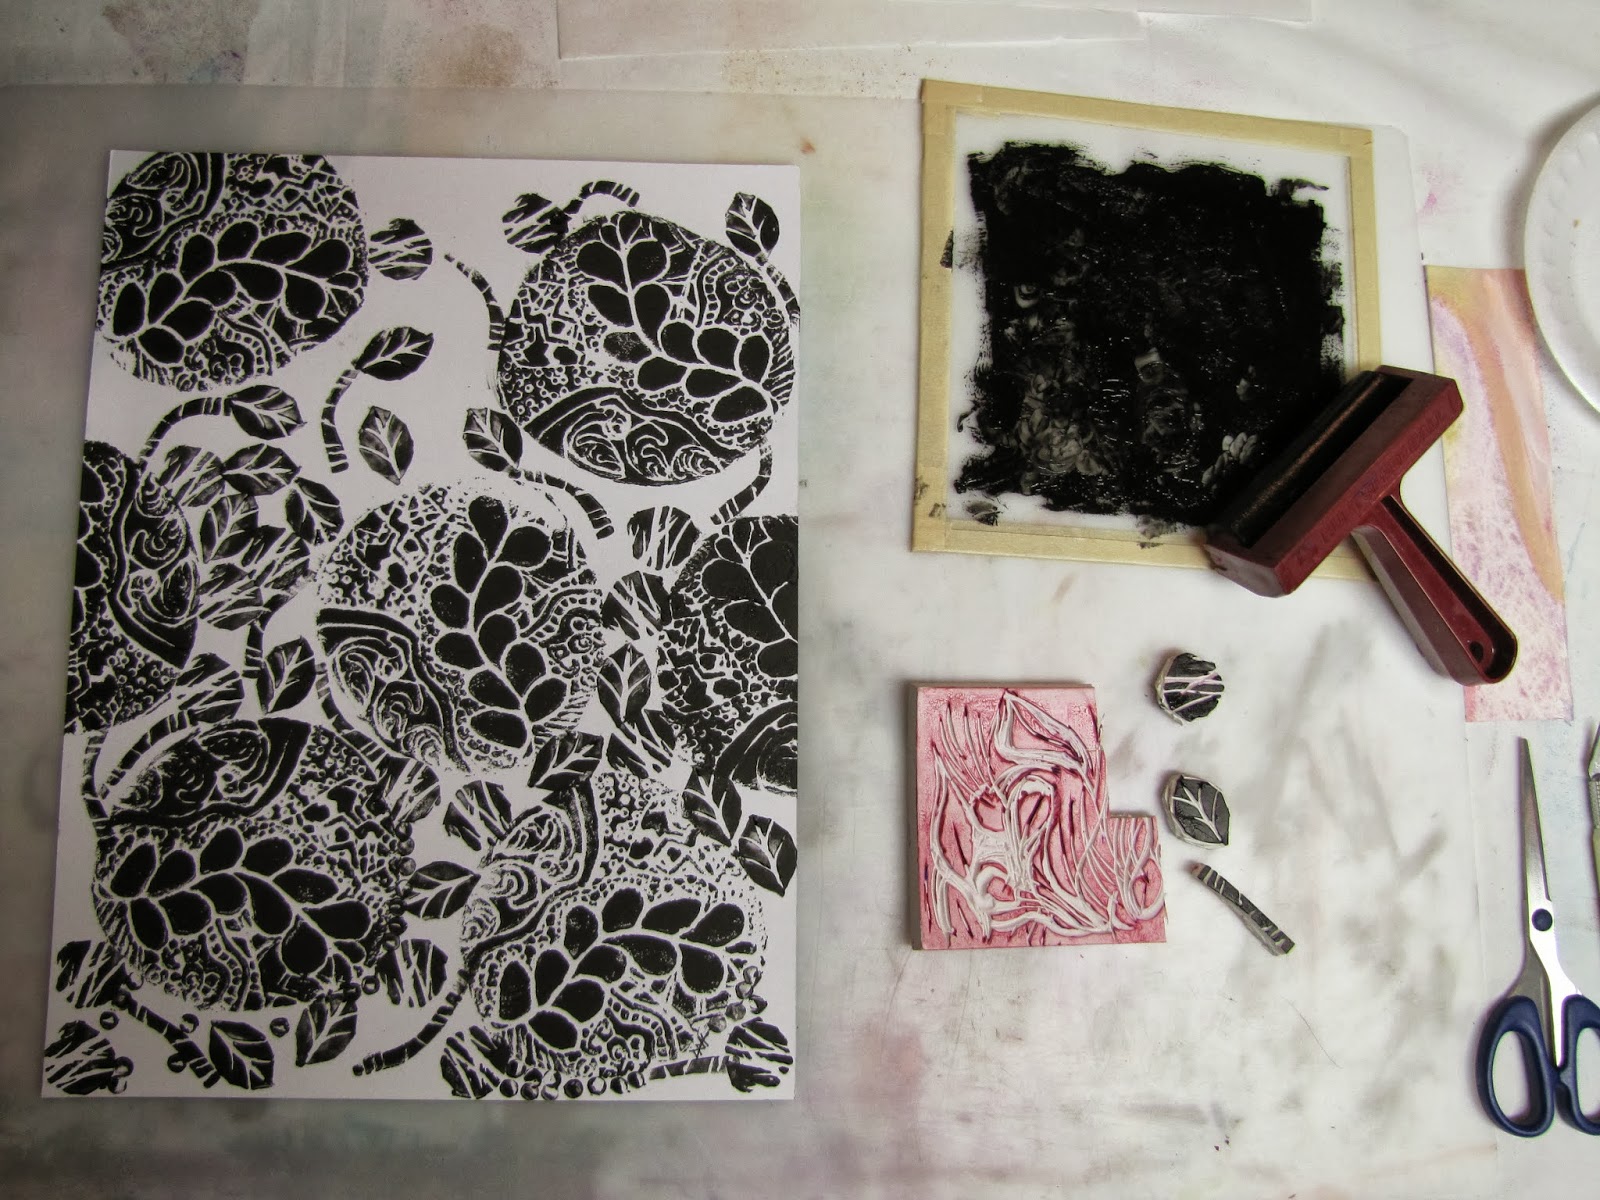
 This one is the first pull from the plate. The ghost print came out really nice but I think I may draw on it first before I post it. I really like this process. right now I'm just using some leftover  Speedball Inks. they are water based and clean up easily. I'm looking forward to trying acrylic in a few days.

Saturday, December 28, 2013

So my experiment with making a gelatin plate for printing went pretty well. I got my information from Linda Germain's website Printmaking without a Press. I really found her videos to be super helpful. This first photo shows how the gelatin looks when it's added to the cold water- kinda clumpy like mashed potatoes.

This photo shows the bubbles that form on the surface after you add the boiling water to dissolve all the clumps of gelatin. You are supposed to skim off all the bubbles.
This one shows the gelatin in a 9" x 12" cake pan with plastic wrap underneath. That was supposed to make it easy to get out the gelatin plate when it hardened - which it did. but it also left deep ridges where the plastic wasn't perfectly smooth. And I didn't get every single bubble off the surface - which later gave me some blemish like imprints.

Here are a few prints. I did a whole bunch and learned something with each one. I'll keep you posted as to my progress.


Friday, December 27, 2013

Mixed Media Inspirations 8" x 10" watercolor, pen and ink, acrylic.

Well it's taken about an hour and a half to finally figure out what was going wrong with my blog and fix it! I was sure I'd have to start all over and I sure didn't want to loose all the great blogs I follow. So phew! I am glad that's settled. I have been promising to share some of the inspiration mixed media paintings I worked on this fall. Sorry it took so long but I couldn't access my blog. I am starting some new experiments today using a gelatin plate and some hand made stencils. I'll post that soon. I hope everyone had a blessed, peaceful Christmas.


Monday, September 23, 2013

Doodle print

Last week I was with some friends and I ended up taking my styrofoam plate and using it to doodle on with a ballpoint pen. I have used styrofoam lots of times with the kids at the YMCA Art Camp so I knew it would make a pretty clean print. I was happy with the results. I also spent an hour or so looking at carved stamps on Pinterest.  If you aren't using Pinterest you should check it out to see if you would like it.

Any way I took an old  Blick E-Z Cut Printing Blocks that was partially carved already and cut some smaller shapes. That's the circle, leaf and stem shape you can see next to the E-Z block. It all came together really fast and I can't wait to do more.

Lesson learned:  Don't under estimate  your doodles - put them to work!

Friday, September 20, 2013

Catching the Waves

 They say you should paint what you know. They say that artists need to travel to find new inspiration. They say... So what do you do when you find yourself in a place that is so different from what you are used to.The light is different. The landscape is different. The plants and animals are different. And the people even seem to look different.
At first when we moved here coming to relax at the end of the day for a few hours at the ocean was a relief from boxes, decisions, the lack of AC. Now it has become a very enjoyable time to talk over the day with my husband, read, or just vegetate. But another thing is happening. I keep looking at the colors, the waves, the seals that pop up to stare back at us, and ,the changing scene wondering, "How do people actually paint this?" Always it is beautiful, but somedays it just takes my breath away. I can tell this will be a challenge. Right now I am happy to soak it all in as I try to figure it all out. I guess that's half the fun of painting... solving the problem in your head.

Tuesday, September 17, 2013

Modeling Paste

 I decided to try using paste with a stencil. I chose Golden Molding Paste . Using a palette knife I carefully spread it on, making sure all the small crevices in the stencil were filled. Then I carefully pulled back the stencil and there was this cool raised image of roses all over the paper. I was really excited! I let it dry and then got out my watercolors and painted the roses and background in. I really like the three dimensional effect the molding paste created.

Monday, September 16, 2013

Painted paper

 I am working on making some painted paper with stencils and liquid watercolors. The paper will be the base for some scripture paintings I'll be working on for the next few months. I use Bristol vellum paper and  Dick Blick liquid watercolors. This is a very fun process - I can easily get lost making these papers (24" x 19".)

Saturday, September 14, 2013

OK here is the secret project I've been working on for the last few weeks since I got my new studio set up here on Cape Cod. As I was unpacking my supplies I ran across these unpainted little wooden bird houses I had purchase for $1.00 two years ago. I got this idea to make a new neighborhood. I asked myself what color would people paint their house if they could use their favorite colors and neighborhood associations rules didn't apply .So I set out to "build" a house for myself and friends I had left behind. I ran out of houses before I ran out of people I wanted in my new neighborhood.

I used polymer clay to create the tiles for the roof. The tiles had to remind me of the friend. I used Sculpey and Fimo clay - which I also had on hand. I couldn't go to an art store because I didn't (at the time)  know how to find one yet. In case you"ve never heard of polymer clay it is a very cool clay that comes in tones of colors, mixes to make any color you can dream of, and creates a kaleidoscope of designs. The clay bakes in a regular oven or a toaster oven to cure. Think
Venetian glass  and you're getting close..

 These are some of the reference books I got at Amazon. Look up polymer clay and you'll find lots of examples. I still want to make the people to live in the houses... so stay tuned.
My new neighborhood.

Friday, August 16, 2013

Well it's been almost a year since my last post. A lot has changed in my life. My husband and I relocated to Cape Cod just a few months ago. So since about last November I have not a had a studio space. I have kept going with mixed media and journal entries, but I am anxious to begin painting in a new place. I am working on a quirky little project that I will post soon. It's all most finished. Here's a picture of our new home. Looking forward to exploring the new landscape this fall.